Minecraft: How to Build the Perfect Cozy Cottage to Survive on Day 1
Disclosure: This page contains affiliate links and I may earn a commission if you click on them and make a purchase. This comes at no additional cost to you and allows me to continue to run this website. Lastly, please do not copy, modify, and/or redistribute my content and claim as your own. For info on photo/video sharing, see the terms and conditions page. Thanks for your support!
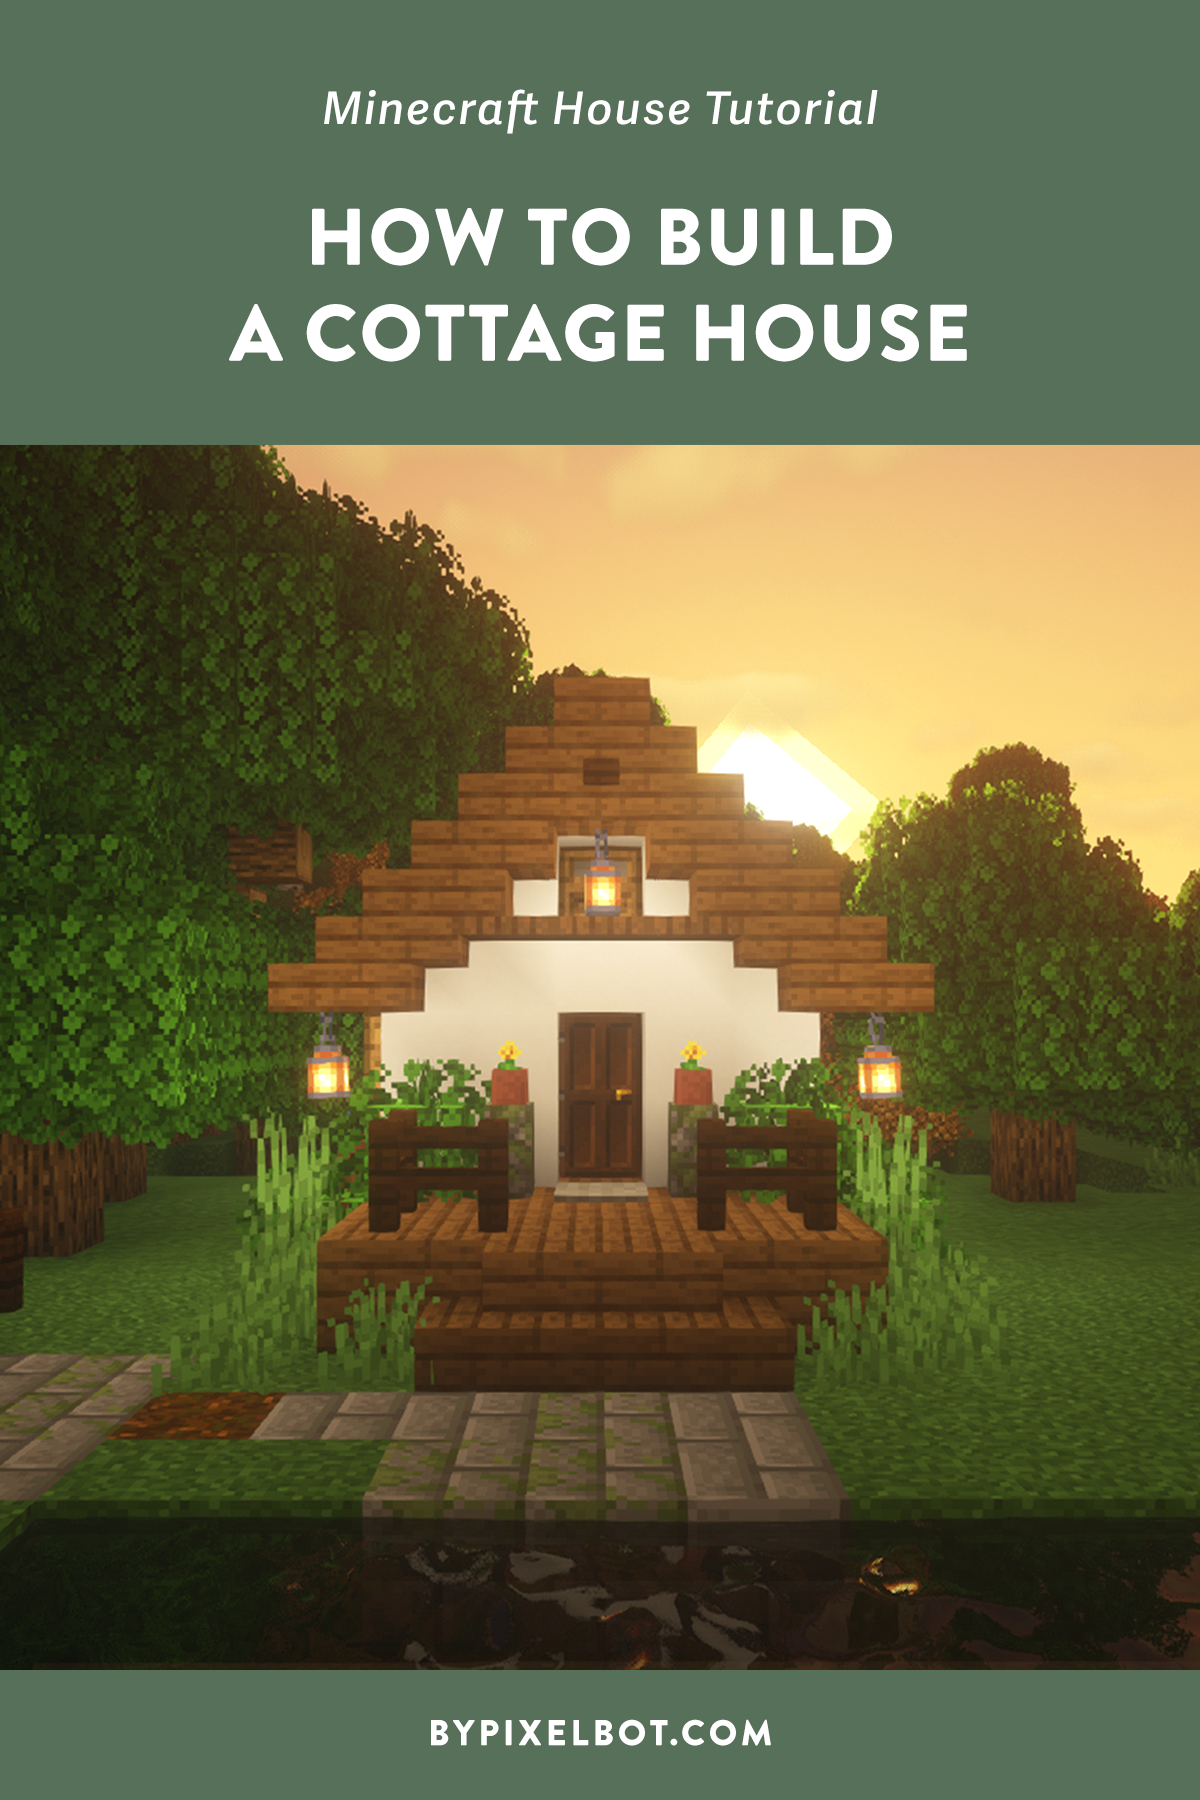
Learn how to build the most perfect cozy cottage in Minecraft. This small 5x5 house comes with a bed, two furnaces, crafting table, plenty of storage, armor stand, front porch, and a small wheat farm. This is also a very simple house layout if you want to use different materials.
Before we get into the tutorial, please make sure you download our Material Checklist right above so that you can have it on hand to help keep track of the materials while you collect resources.
Minecraft: How to Build the Perfect Cozy Cottage (Step-by-Step) Tutorial
STEP 1. Layout Dimensions
STEP 2. Flooring
Fill the layout dimension with spruce planks to complete the flooring for the house.
STEP 3. Build the Walls
Leave 3 blocks of space from the front of the house (shown above). The house itself measures 5 x 5.
In the front and back of the house (from left to right), build 3 blocks up, then 4 blocks up, then 5 blocks up, then 4 blocks up, then 3 blocks up with white concrete.
For both sides of the house, build 3 blocks up with white concrete.
This is what you should end up with once the walls are fully built out.
If you want to stay organized and keep track of all of your materials, download my free material checklist for this build by clicking the image above.
STEP 4. Build the roof
Copy the roof pattern above for the front and back of the house with spruce stairs, spruce planks, and spruce slab.
Continue adding spruce stairs (where the andesite stairs are) to complete the roof.
Fill the pitch of the roof with white conrete.
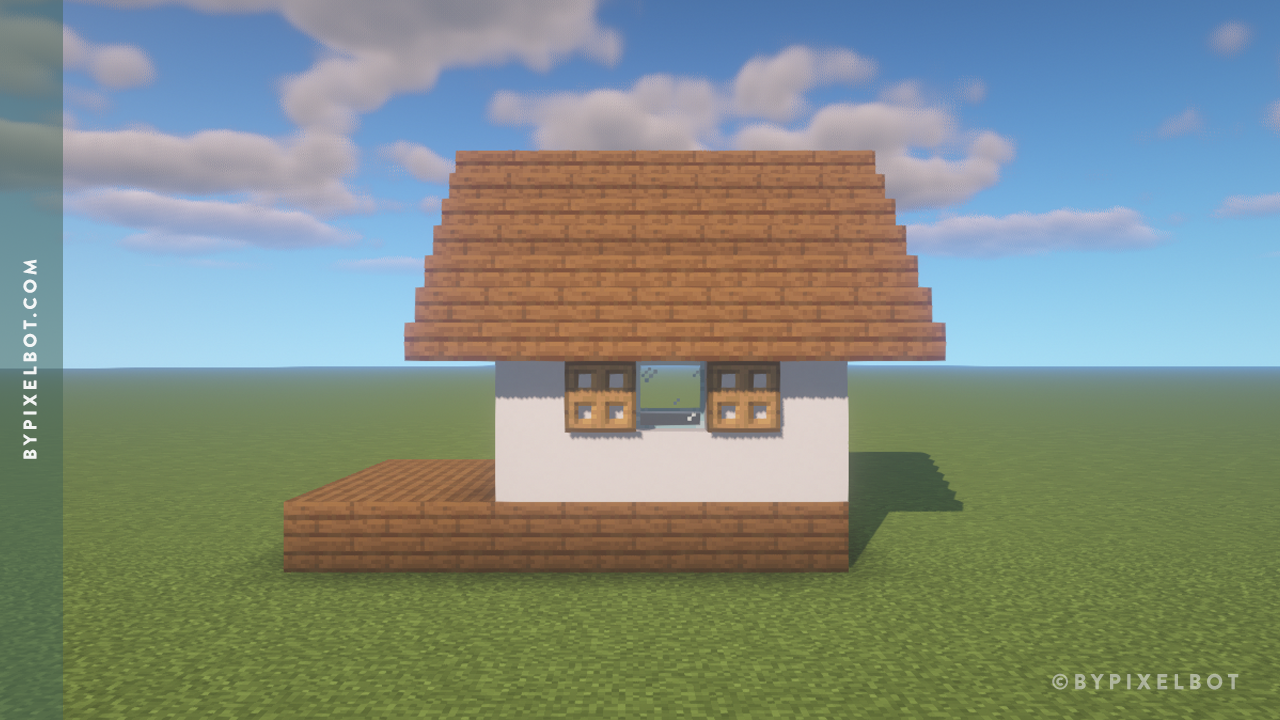
Connect the slabs from the front to the back of the house with spruce slabs to complete the roof.
This is what your finished roof should look like by now.
STEP 5. Add the Doors & Windows
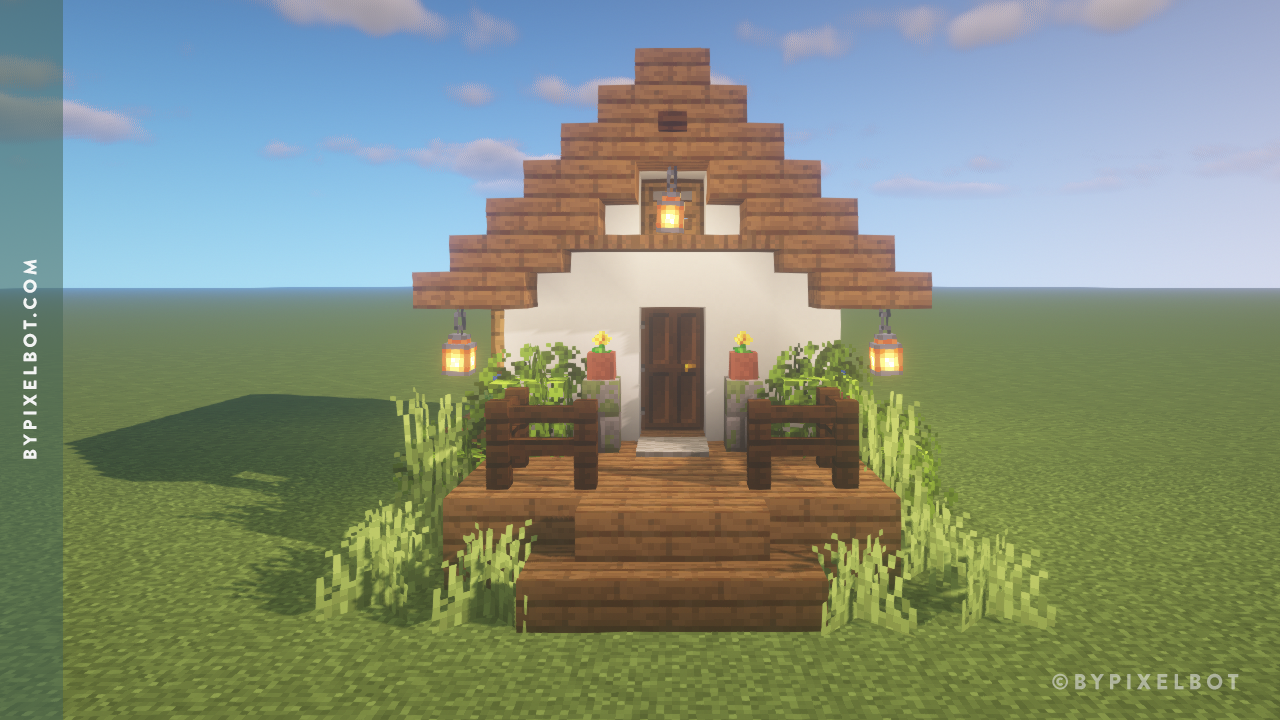
The front (north-facing) of the house includes a dark oak door. Punch 1 block for the 2nd floor window and place an oak trap door.
The west-facing side of the house features a glass pane and oak trapdoors.
The back of the house (south-facing) features one window on the 2nd floor with an oak trapdoor, and one window on the 1st floor with glass pane and oak trapdoors.
The east-facing side of the house features glass pane and oak trapdoors.
STEP 6. Landscaping Design
Front of the House (North-Facing)
Spruce stairs
Oak leaves
Tall grass
Grass
Dark oak fence
Mossy stone brick walls
Flower pot
Dandelion
Spruce trapdoor
Lantern
Dark oak button
Light gray carpet
Side of the House (West-Facing)
Grass
Tall grass
Oak leaves
Grass block
Spruce trapdoor
Flower pot
Cornflower
Lantern
Back of the House (South-Facing)
Oak leaves
Grass block
Spruce trapdoor
Flower pot
Cornflower
Lantern
Dark oak button
Side of the House (East-Facing)
Oak leaves
Grass block
Spruce trapdoor
Flower pot
Cornflower
Dandelion
Lantern
Tall grass
Grass
STEP 7. Create a Pathway
Create a path (shown above) with stone bricks, mossy stone bricks, and podzol.
STEP 8. Build the Farm
Build the farm as shown above with the following materials:
Dark oak fence
Hoe
Wheat seeds
Water bucket (*dig 2 blocks down, then pour the water bucket in)
Add a grass block above the water hole, then use your hoe and plant wheat seeds. Close off the farm with a dark oak fence gate. Your farm should look like the photo above by now.
STEP 9. Furnish the Interior
Torch
Spruce slab
Crafting table
Furnace
Torch
Spruce slab
Chest
Green bed
Armor stand
Iron helmet, chestplate, leggings, and boots
Oak stairs
Spruce trapdoor
Item frame
Bread
Did you use this build in your survival world? Feel free to let me know!
TIP: Pin this image below by hovering over it to save it to your Pinterest account and refer back to it later.

